Appearance
制作存读档界面
你可以使用 LmCode(代码模式)提供的方法来制作一个存读档界面。
创建一个新场景
创建一个叫SaveLoadScene的存读档场景,包含一个返回按钮,存读档列表,初始化方法,和一个更新存读档列表显示内容的方法。
typescript
@LM.Class("SaveLoadScene")
export class SaveLoadScene extends LM.Scene {
    // 存读档列表
    saveloadList:LM.ListView;
    // 返回按钮
    backBtn:LM.TextView;
    // 初始化
    init(){
    }
    // 更新存读档列表
    updateSaveloadList(){
    }
}
设置场景为存档场景
在存读档场景内进行存档,引擎会截图当前显示的场景,不想让场景内容在截图中出现,可以设置isSaveScene为true。在init方法中添加如下代码。
typescript
this.isSaveScene = true;创建存读档橱窗
我们新建一个类SaveLoadItem继承LM.ShopWin,用来做为存读档泳道的子对象。我们获取到的存读档数据结构中包含章节标题,存档时间戳,存档截图,也在橱窗中展示这三个信息。并且添加存档和读档按钮。
typescript
export class SaveLoadItem extends LM.ShopWin{
    // 章节标题
    title:LM.TextView;
    // 存档截图
    screenshotImg:LM.ImgView;
    // 存档时间
    saveTime:LM.TextView;
    init(): void {
        this.width = 400;
        this.height = 200;
        //背景颜色
        this.backgroundColor = "#787878"
        // 存档截图
        this.screenshotImg = new LM.ImgView();
        this.screenshotImg.x = 150;
        this.screenshotImg.y = 50;
        this.addChild(this.screenshotImg);

        //标题
        this.title = new LM.TextView();
        this.title.x = 150;
        this.title.fontSize = 40;
        this.title.fontColor = "#ffffff";
        this.addChild(this.title);

        // 存档时间
        this.saveTime = new LM.TextView();
        this.saveTime.x = 100;
        this.saveTime.y = 150;
        this.saveTime.fontSize = 24;
        this.saveTime.fontColor = "#ffffff";
        this.addChild(this.saveTime);


        // 存档按钮
        let saveLabel = new LM.TextView();
        saveLabel.text = "存档";
        saveLabel.fontSize = 40;
        saveLabel.fontColor = "#ff0000"
        this.addChild(saveLabel);
        // 添加存档点击事件
        saveLabel.onClick(() => {
            // 进行存档 itemIndex 为当前对象在泳道内的索引
            LM.save(this.itemIndex);
            // 调用scene中的更新存读档列表方法
            this.sceneManager.updateSaveloadList();
        })

        // 读档按钮
        let readLabel = new LM.TextView();
        readLabel.text = "读档";
        readLabel.y = 50;
        readLabel.fontSize = 40;
        readLabel.fontColor = "#00ff00";
        this.addChild(readLabel);
        readLabel.onClick(() => {
            // 进行读档 itemIndex 为当前对象在泳道内的索引
            LM.restore(this.itemIndex);
        })
        this.reDraw();
    }
    // 泳道数据更新时,会调用这个方法
    reDraw(): void {
        // 章节标题
        this.title.text = this.params.title;
        // 存档截图
        this.screenshotImg.src = this.params.src;
        //格式化存档时间 存档时间
        this.saveTime.text = formatTimestamp(this.params.time);
    }
}

function formatTimestamp(timestamp) {
  const date = new Date(timestamp); // 时间戳为毫秒
  const Y = date.getFullYear();
  const M = String(date.getMonth() + 1).padStart(2, '0');
  const D = String(date.getDate()).padStart(2, '0');
  const h = String(date.getHours()).padStart(2, '0');
  const m = String(date.getMinutes()).padStart(2, '0');
  const s = String(date.getSeconds()).padStart(2, '0');

  return `${Y}-${M}-${D} ${h}:${m}:${s}`;
}
添加存读档列表
我们回到SaveLoadScene类的init方法,接下来使用刚刚创建的SaveLoadItem类来创建存读档泳道。
typescript
this.saveloadList = new LM.ListView(SaveLoadItem,[]);
this.saveloadList.gridNum = 2;
this.saveloadList.rowSpace = 20;
this.saveloadList.columnSpace = 20;
this.saveloadList.x = 400;
this.saveloadList.y = 20;
this.addChild(this.saveloadList);
this.updateSaveloadList();
完成存读档列表数据更新
typescript
updateSaveloadList(){
    // 获取存读档数据
    LM.getSaveListData((list) => {
        // 只使用viewData的数据
        this.saveloadList.listViewData = list.map(item=>item.viewData);
    })
}
完成界面
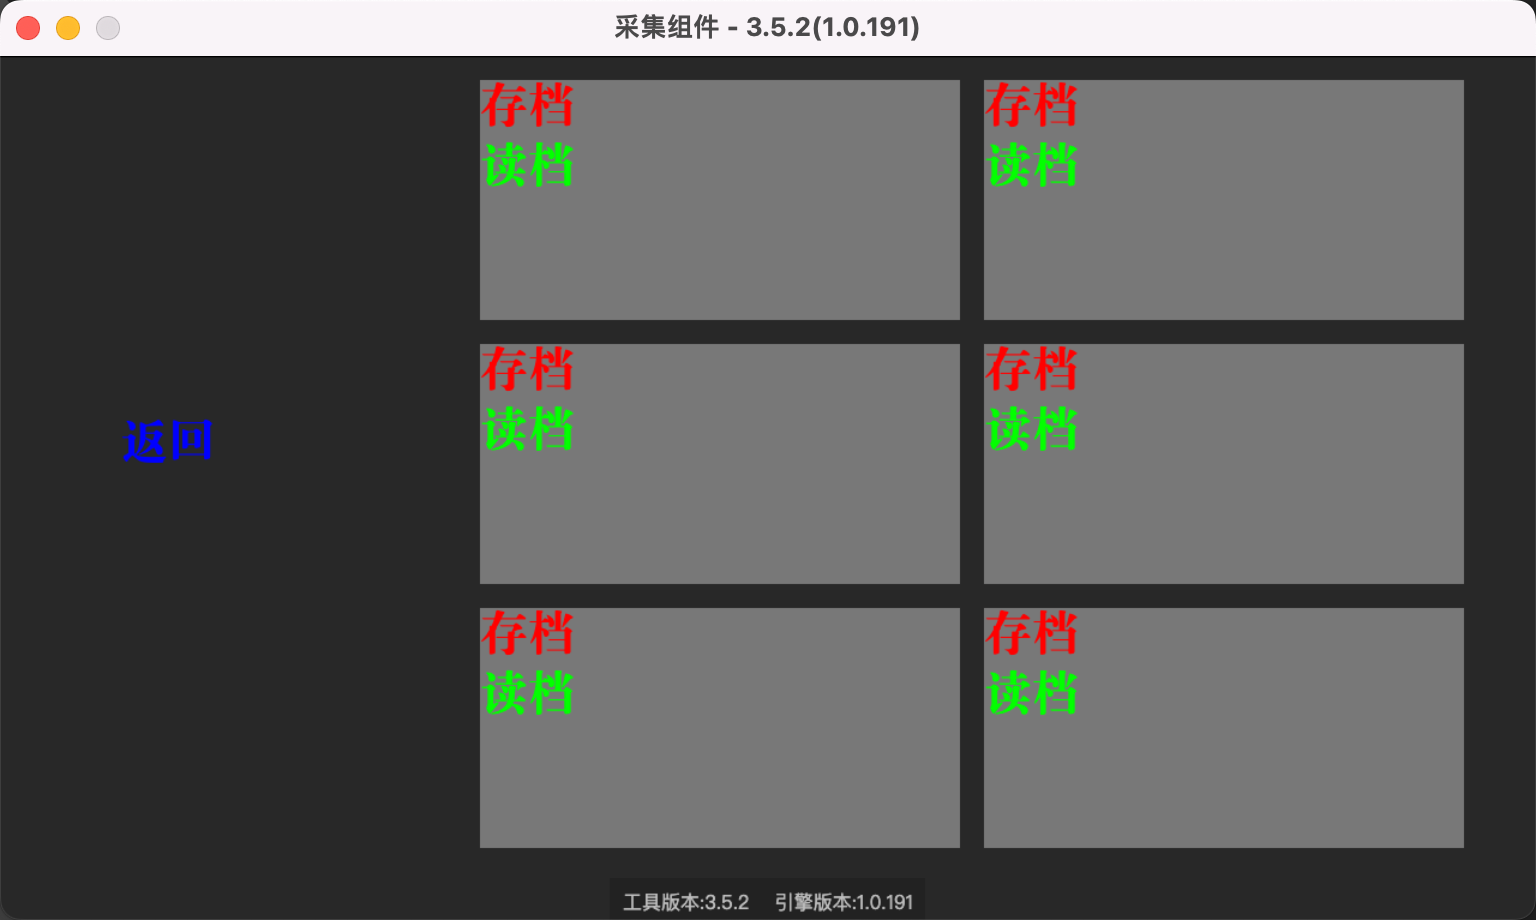
最后我们再给存读档scene添加一个纯色背景,和返回按钮。这里贴上SaveLoadScene的完整代码。
typescript
import { SaveLoadItem } from "./saveload/SaveLoadItem";

@LM.Class("SaveLoadScene")
export class SaveLoadScene extends LM.Scene {
    // 存读档列表
    saveloadList:LM.ListView;
    // 返回按钮
    backBtn:LM.TextView;
    init(){
        // 必须显式得写,不能直接写到属性当中
        this.isSaveScene = true;
        //背景
        let bg = new LM.ImgView();
        bg.backgroundColor = "#282828";
        bg.width = ENGINE_CONFIG.stageW;
        bg.height = ENGINE_CONFIG.stageH;
        this.addChild(bg);

        //返回按钮
        this.backBtn = new LM.TextView();
        this.backBtn.text = "返回";
        this.backBtn.x = 100;
        this.backBtn.y = 300;
        this.backBtn.fontSize = 40;
        this.backBtn.fontColor = "#0000ff";
        this.addChild(this.backBtn);
        this.backBtn.onClick(() => {
            this.close([])
        })

        // 存读档列表
        this.saveloadList = new LM.ListView(SaveLoadItem,[]);
        this.saveloadList.gridNum = 2;
        this.saveloadList.rowSpace = 20;
        this.saveloadList.columnSpace = 20;
        this.saveloadList.x = 400;
        this.saveloadList.y = 20;
        this.addChild(this.saveloadList);

        this.updateSaveloadList();
    }
    //更新存读档列表数据
    updateSaveloadList(){
        LM.getSaveListData((list) => {
            this.saveloadList.listViewData = list.map(item=>item.viewData);
        })
    }
}
通过测试可以看到,存读档列表已经可以正常显示了。